This is not my typical type of post, but as I have said, communications and networking are things that excite me greatly. It's why I collect antique telephones, why I enjoy scanner and shortwave listening, why I learned the OSI model and have spent much of my career in and around computer networking.
It's also why, over the summer, I studied for, took, and passed the Technician amateur license exam, after which I bought a Baofeng UV-5R. It didn't take me long to realize that the UV-5R does not receive anything at my house, so I quickly replaced it with a Yaesu VX-6R, which I am finding to be an excellent HT.
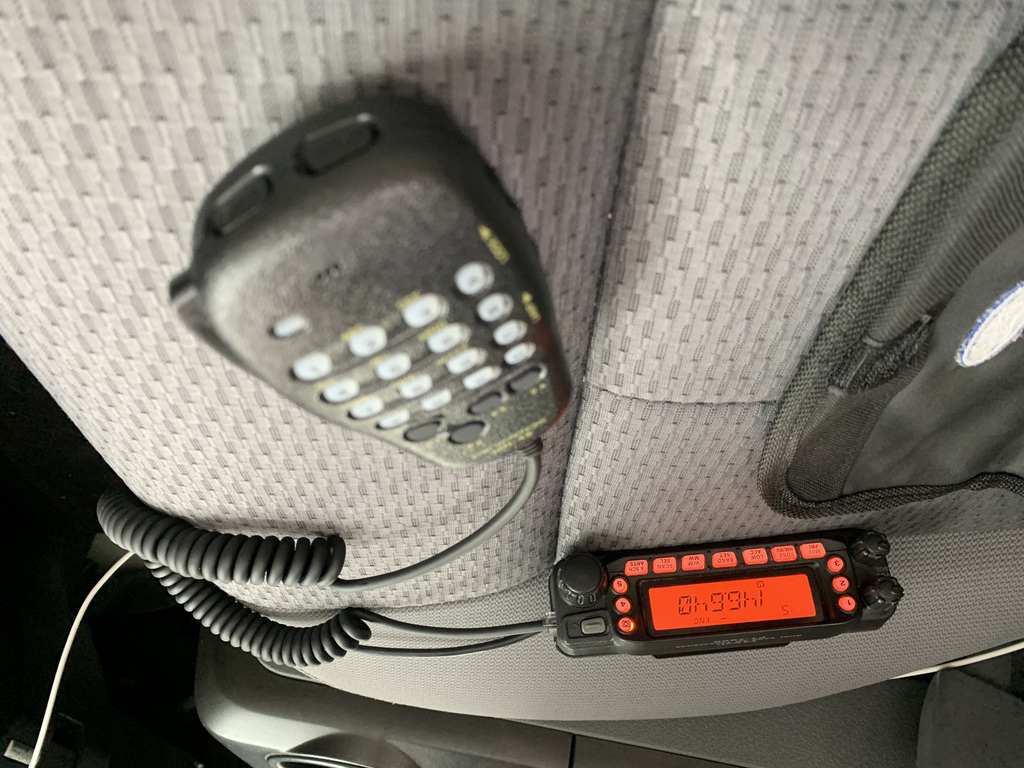
I also bought a Yaesu FT-7800R to install in my F150. I finally got around to that install today, and I know that there are lots of questions about how to install a ham radio into a vehicle, so I am documenting my install in this post.
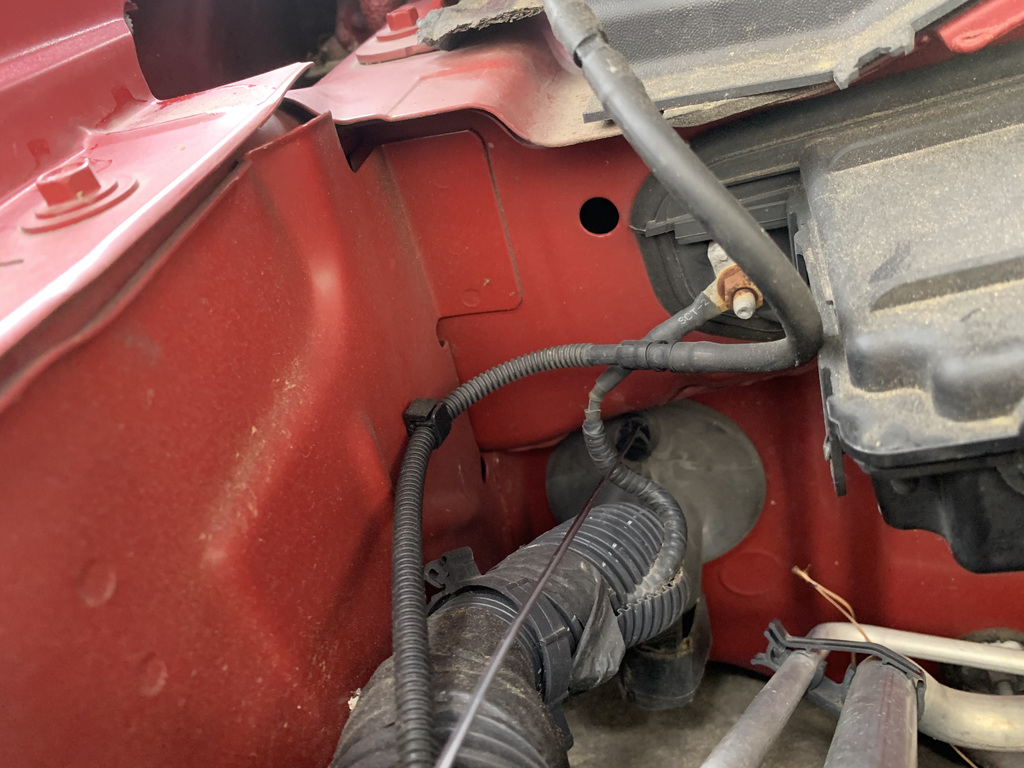
First, there is a grommet with a nipple on it on both the driver side and the passenger side of the F150. I started my install by cutting the nipple slightly and running a fish tape through the firewall through that grommet.

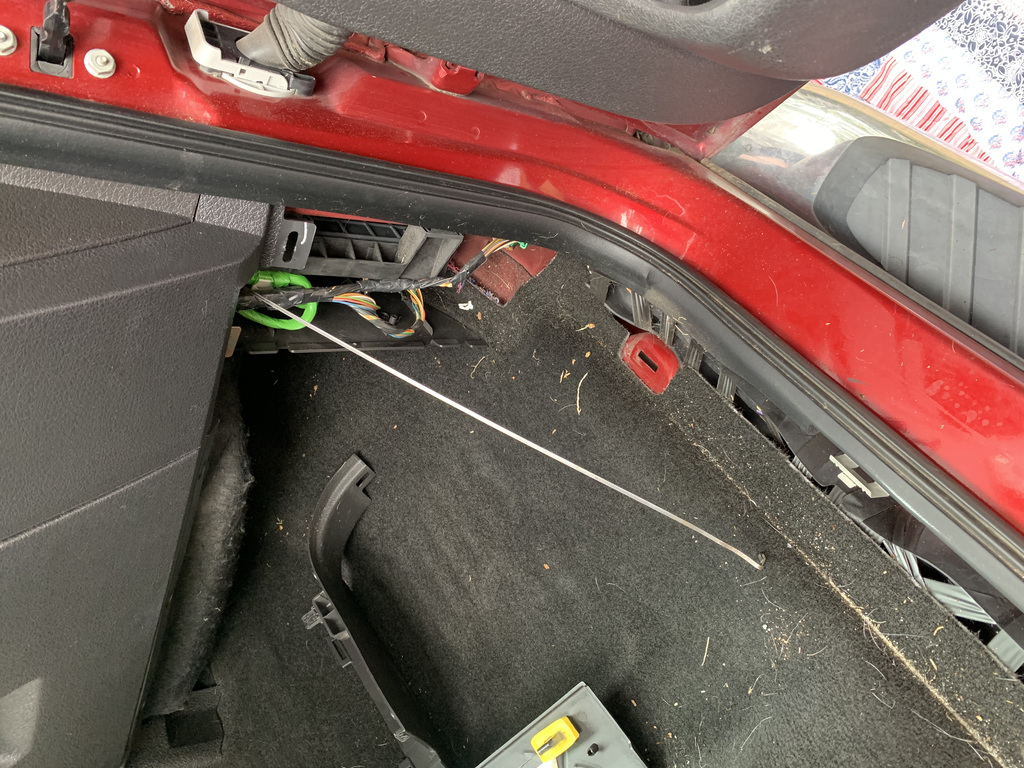
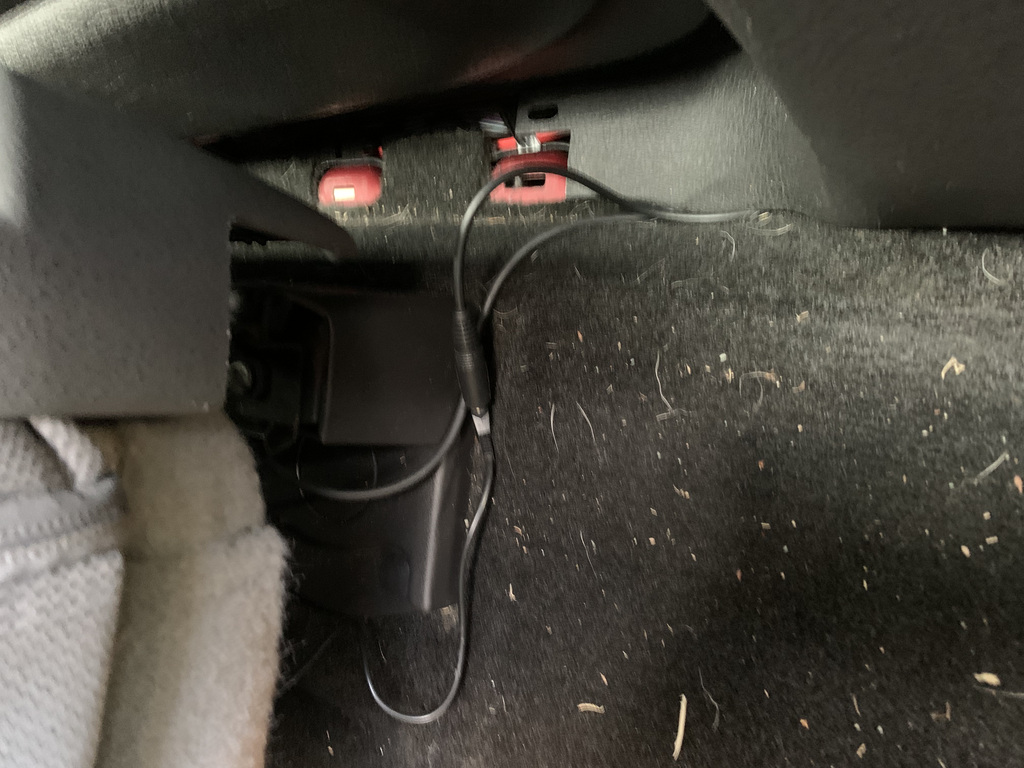
As expected, the fish tape came out in the footwell:
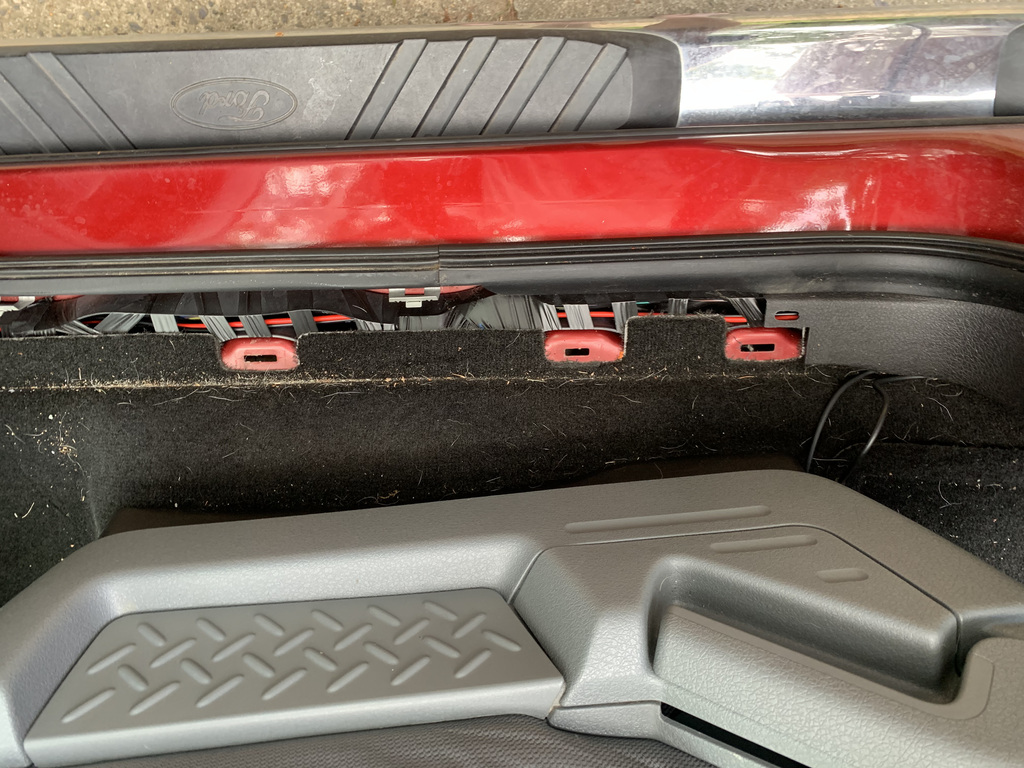
I ran the power cable through the grommet to the back of the truck, where I am installing the FT-7800R. Conveniently, the F150 has cable raceways under the door trim:
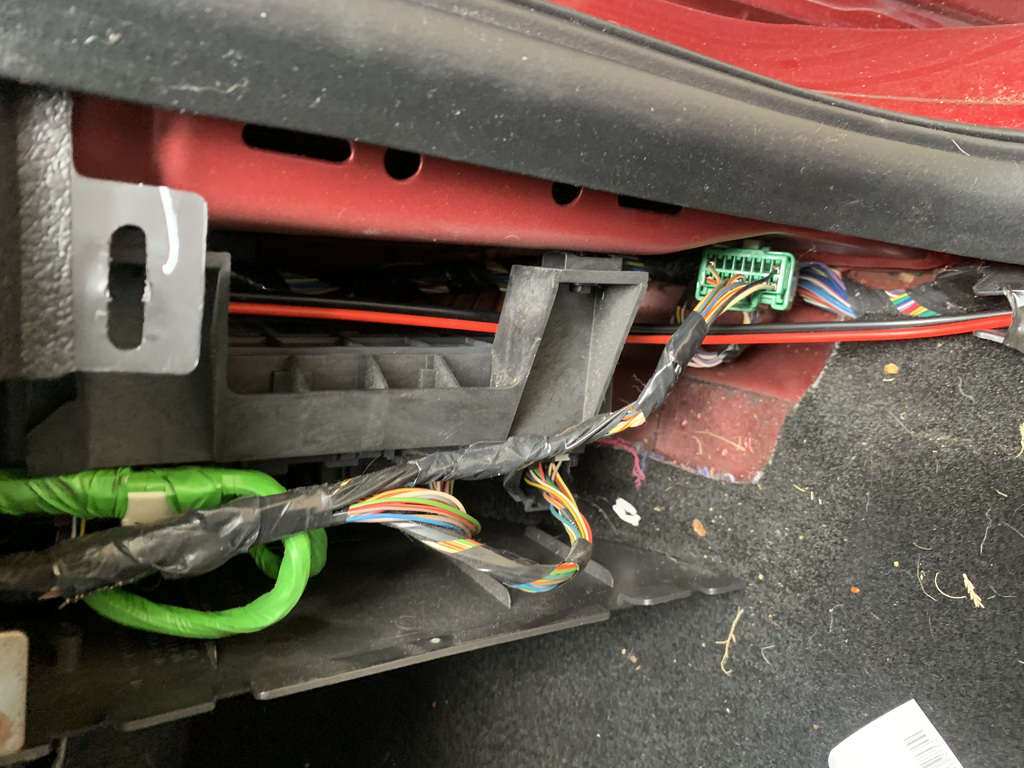
In this picture of the raceway you can also see where the faceplate and speaker cables leave the trim and go under the seat:
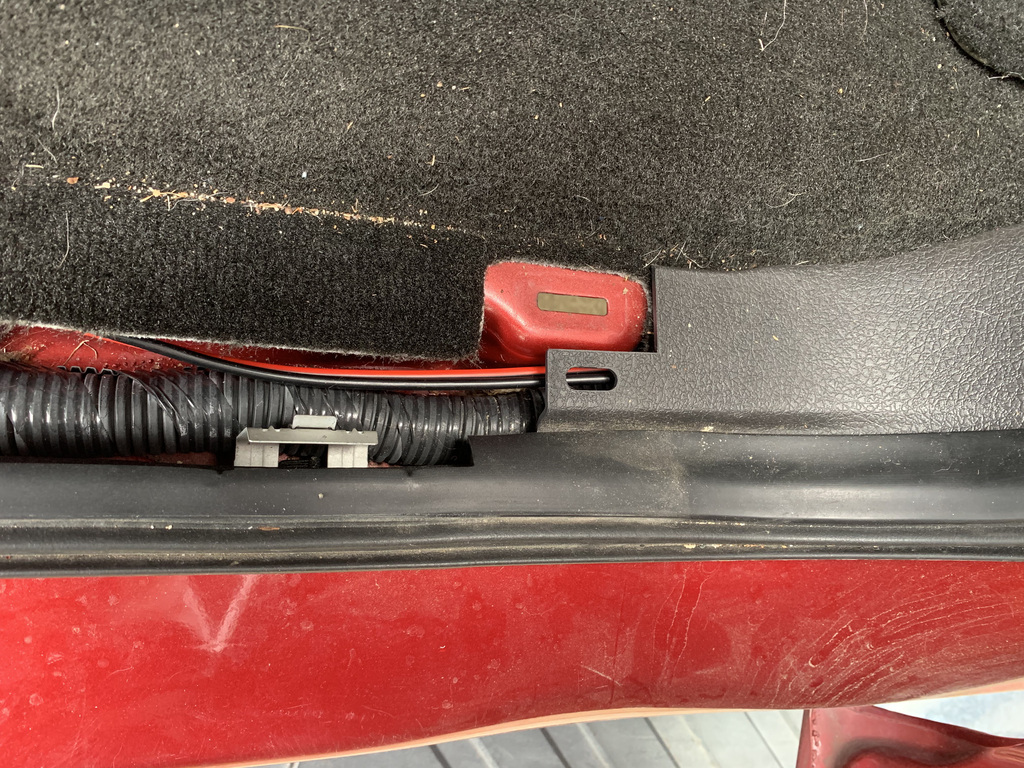
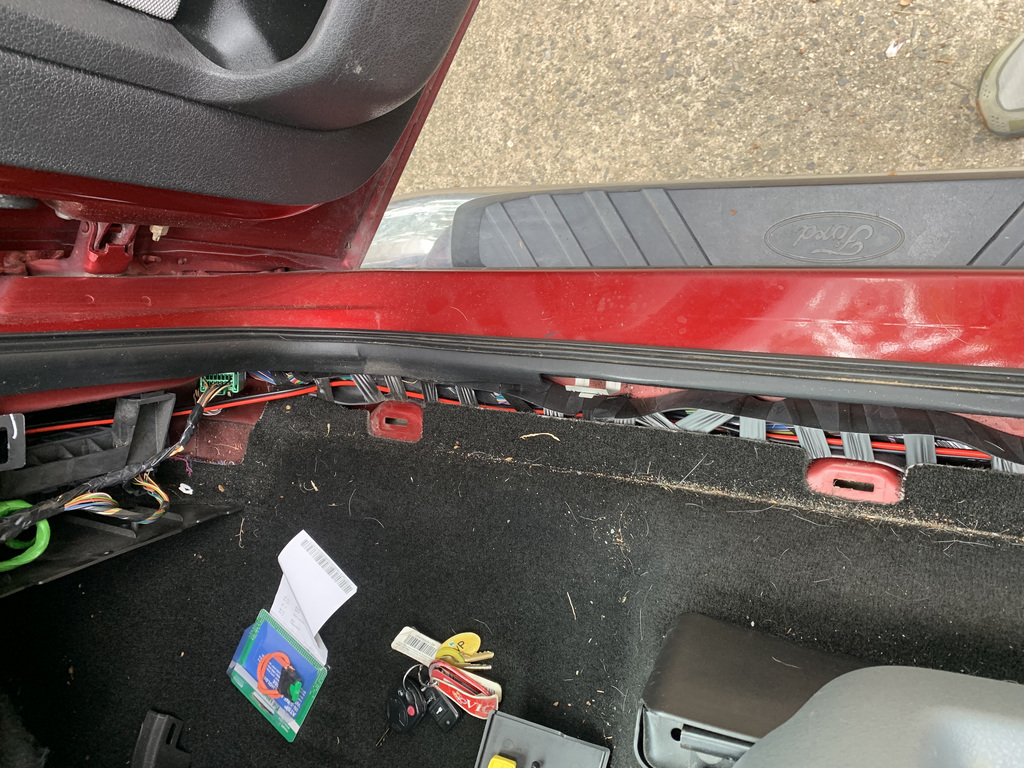
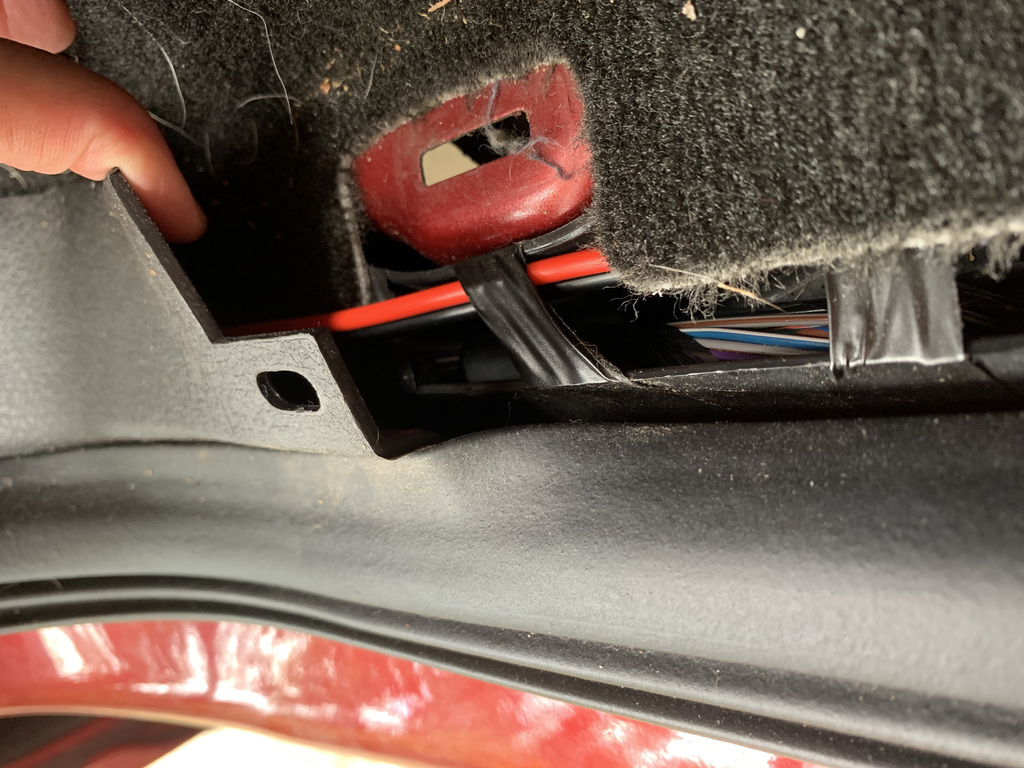
At the B-pillar, I came out of the cable raceway but stayed below the trim. I tried but was unable to push all the way through. (I did not use fish tape for this part.) It's possible that the cable raceway only exists in the door wells, or that the bundle of cables bunches up at the pillar, with some of the cables go up the pillar.
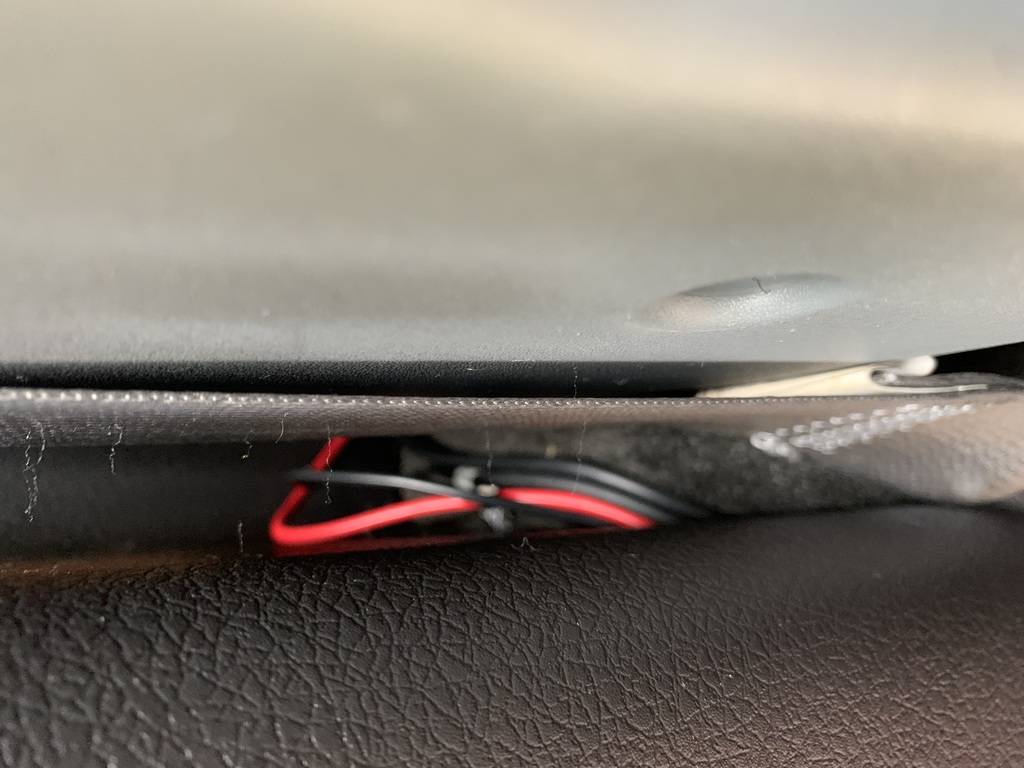
At the C-pillar, I pushed the cables under the trim and around the seat belt bolt:
I used L-brackets to mount a piece of wood to the passenger-side rear seat belt bolts. It works very well, and is solid, even without any nuts holding the board in place. The seat does push slightly against the radio when the seatback is moved up or down, but during normal use there is plenty of room behind the rear seat for the radio.
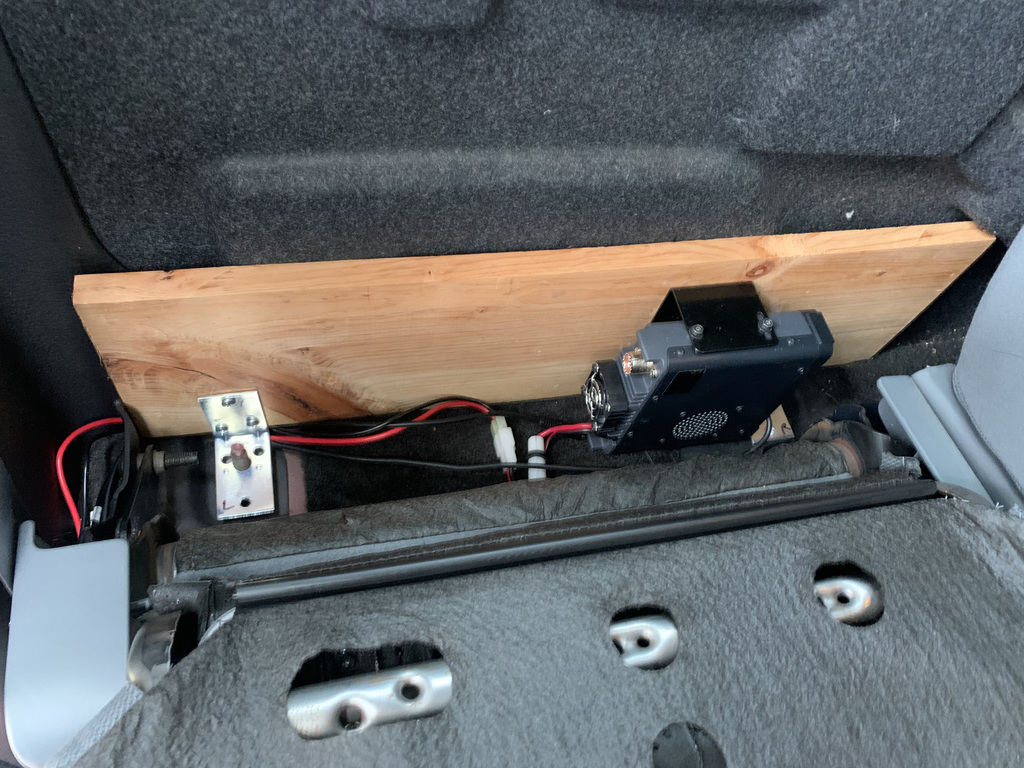
In addition to power, I ran the speaker and faceplate cables through the cable raceway. Those cables come out right at the B pillar and go under the front seat. I would like to hide those cables under the carpet, so they are only visible under the seat.
The engine compartment has lots of places to reach ground. I chose this center-mounted bolt:
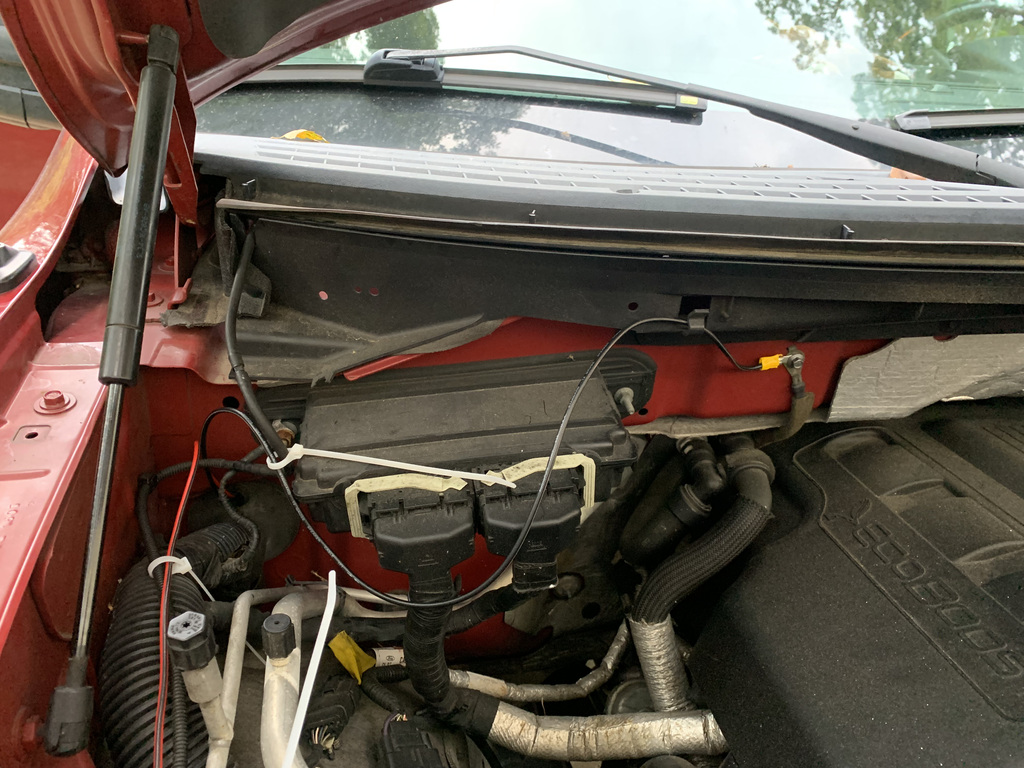
I added an ATO fuse holder to the positive cable right at the battery, and I zip tied the positive power cable to other things along the way to the grommet:

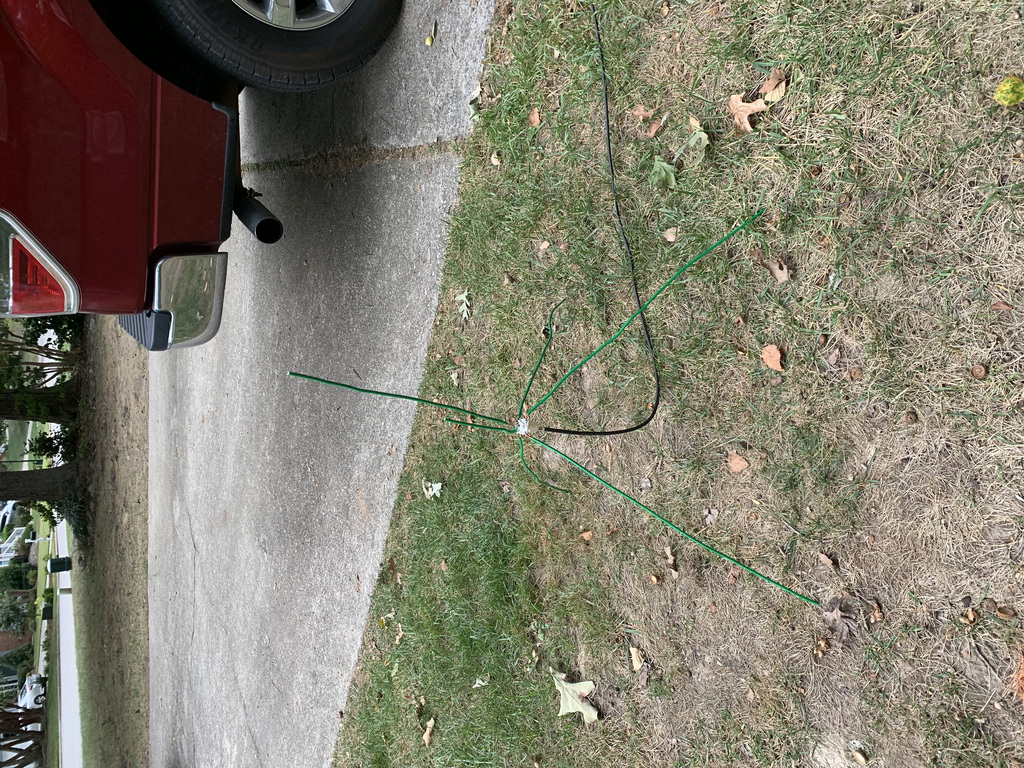
I do not currently have an antenna or a mount for the face plate, but I will be fixing both of those issues this week. For my first test, I used a ground plane antenna I made about a month ago.
I received an excellent signal report on a repeater that I cannot hit with my HT, so I count this as a win.
There are two more things to do. First, I need to install a permanent antenna; the plan is to use an NMO mount on the roof. Second, I need a mount for the faceplate and microphone; the plan for that is to get the FT-7800R version of the Lido LM-300-1001.
I should call out that I forgot to install a ferrite core in the power feed, so I may suffer from engine noise. If I do, I will splice the line and install a ferrite core.
Daniel's Blog
I am a system engineer in the Raleigh, NC area. My main interests are Unix, VMware, and networking. More about me, and how I got started.
Categories
Tags
- IC-7300 1
- T1 1
- ansible 2
- anycast 2
- atari 1
- autofs 1
- backup 2
- battery box 1
- bgp 1
- cables 2
- cisco 2
- dashcam 1
- digitalocean 2
- disney 1
- diy 6
- dkim 1
- dns 2
- docker 7
- dsm 1
- ecmp 1
- email 2
- encryption 1
- esp32 2
- esphome 2
- esxi 4
- f150 3
- freebsd 1
- frr 4
- ft7800r 3
- ftm400 1
- git 1
- ham radio 6
- hardware 2
- home assistant 4
- home automation 2
- home lab 1
- homelab 2
- icloud 1
- ipad 1
- iphone 1
- iscsi 1
- kasa 1
- letsencrypt 1
- m5stack 2
- m900 1
- mac 1
- macos 3
- mikrotik 1
- minfs 1
- mobile 1
- monitoring 1
- nas 1
- network 1
- networking 3
- nfs 3
- ospf 4
- pelican 1
- perl 1
- php 1
- pi-hole 2
- plex 1
- portainer 1
- postfix 5
- pota 1
- prepping 1
- printer 1
- pxe 2
- python 1
- r610 3
- rack 4
- radio box 1
- raspberry pi 9
- raspi 1
- routing 2
- rsync 1
- satellite 1
- scanner 3
- shell 4
- solenoid 1
- spf 1
- ssh 2
- ssl 2
- synology 9
- tinyminimicro 1
- traefik 2
- ubiquiti 6
- udm-se 1
- unix 8
- update 2
- usg 5
- virtualization 4
- vmware 4
- wireguard 6
- ysf 1
- zerotier 6